
How to Make Henna Paste at Home (That Stains Dark)
The paste recipe and exact ratios we teach in class — plus how to rescue a mix that's too thick, too runny, or too weak to leave a dark stain.
By Aliya, Founder, Hennaya
11 September 2026 · Updated 7 October 2026 · 4 min read

You can buy ready cones (we make them), but every serious henna artist should know how to mix paste. Here's the beginner recipe from our training batches.
What you need
- 100 g fresh, triple-sifted body-art-quality henna powder
- ~150–200 ml lemon juice or strong brewed tea, warm, added gradually
- 1 tsp sugar (helps the paste cling and stay flexible)
- 15–20 ml approved essential oil (cajeput, lavender or tea tree)
- A fine sieve, a glass/steel bowl, cling film, and a piping cone or bottle
Method
- Sift the powder again into the bowl to remove any grit.
- Add the acidic liquid a little at a time, stirring, until you get a smooth paste like thick yoghurt.
- Cover the surface with cling film (touching the paste) and rest 6–12 hours at room temperature for dye release.
- Do the palm test: a smear should leave a clear orange mark within a minute. If it's faint, rest longer.
- Stir in the essential oil and enough extra liquid to reach a pipeable consistency — like toothpaste that holds a fine line.
- Fill your cone, push out air bubbles, and use within a day (or freeze).
Troubleshooting
- Too thick / cracking off the cone: add liquid a few drops at a time.
- Too runny / spreading: rest uncovered 20–30 minutes, or sift in a little more powder.
- Weak stain: the powder is likely old, or you skipped the dye-release rest.
- Bumpy lines: you didn't sift enough, or there are air bubbles in the cone.
Understanding dye release
"Dye release" is the stage where lawsone moves out of the crushed leaf and into the paste in a form that will stain skin. It needs a mildly acidic liquid and time at room temperature — too cold and it stalls, too warm (or too long) and the released dye starts to degrade. The palm test is how you catch the sweet spot: smear a little on your palm, wipe it off after a minute, and look for a clear orange mark. Faint mark = rest longer. Strong mark = mix in your essential oil and use it within a day.
Acidity: how much
Lemon juice works but is quite acidic; strong black tea or coffee is gentler and less likely to make the paste stiff or the skin dry. Many artists split the difference — half tea, half a splash of lemon. If your stains are coming out crackly or your skin feels tight, ease off the lemon next batch.
Rolling your own cones
- Cut a triangle from cellophane or a cone sheet (roughly 15 × 10 cm).
- Roll it into a tight funnel with a pinhole tip — wrap from one corner, keeping the point closed.
- Tape the seam so it can't unroll.
- Spoon in paste to about two-thirds full, pressing out air pockets as you go.
- Fold the top flat, fold the corners in, roll it down and tape it shut.
- Rest the cone tip-down for a few minutes so paste settles into the point, then snip the very tip when ready to pipe.
A firm, air-free cone with a fine tip is what gives you a clean raised line. If this feels fiddly, our ready-rolled practice cones let you focus on line work first.
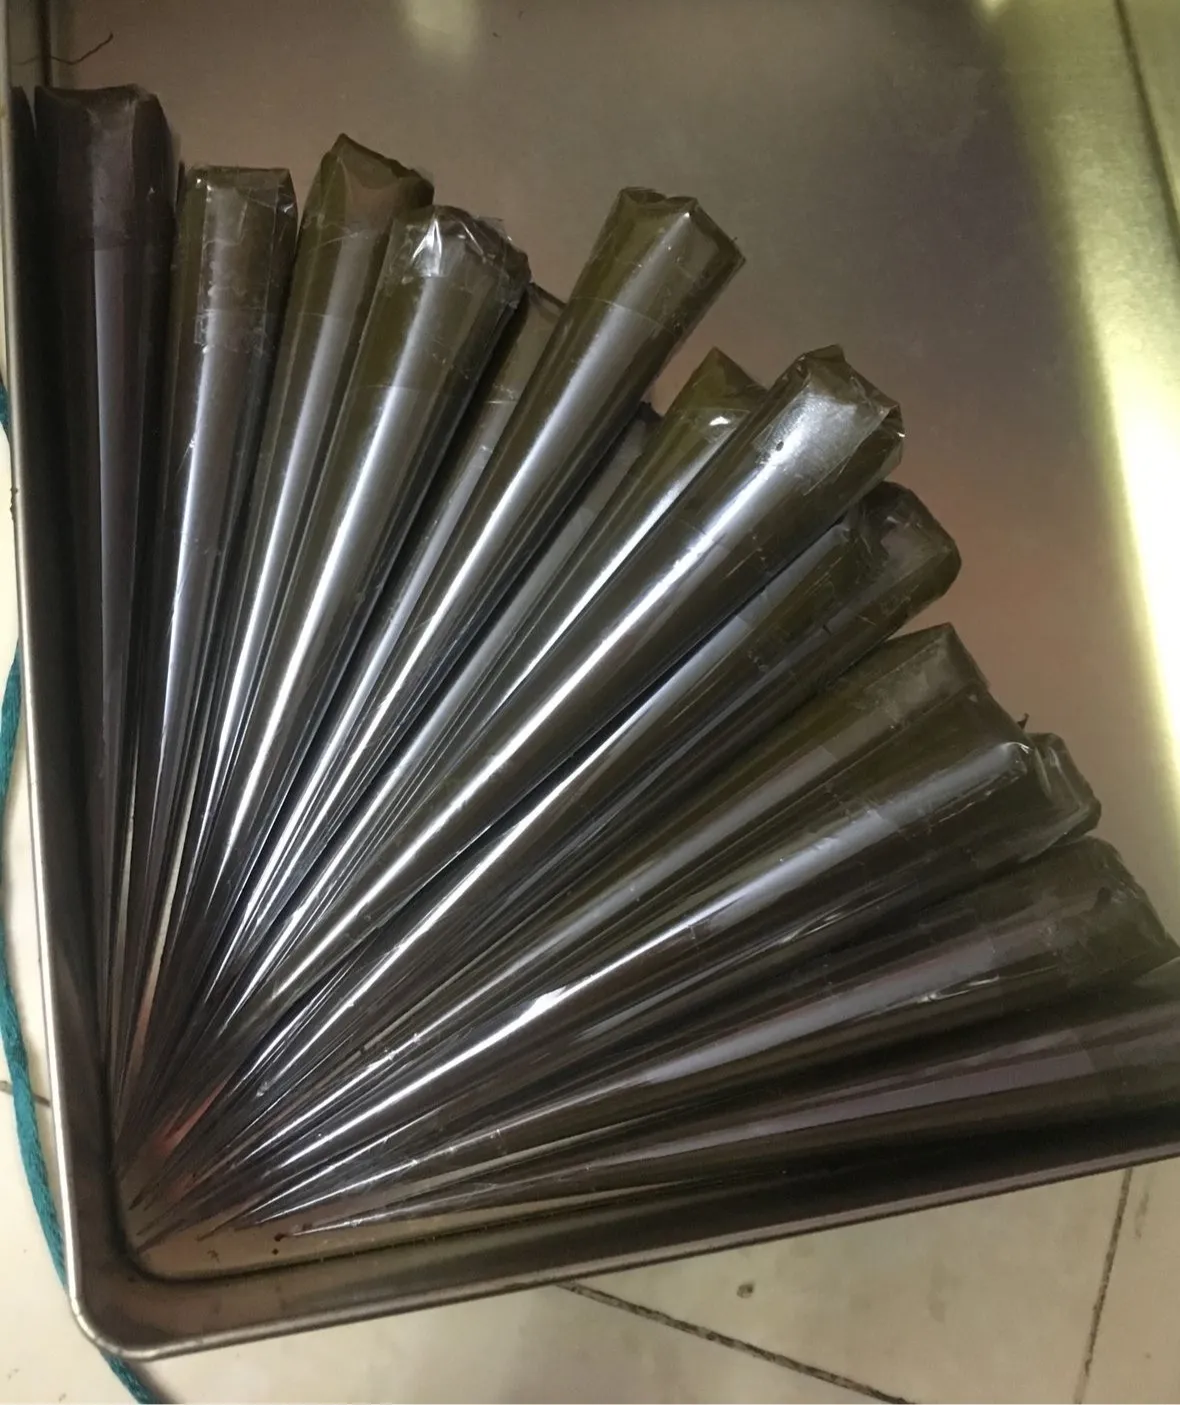 Henna ConesPracticing Henna ConesStain-free practice paste₹10View product →
Storing paste and cones
- Room temperature: use within a day of dye release — the stain weakens fast after that.
- Fridge: 3–4 days in a sealed bag.
- Freezer: 3–4 months; double-bag, thaw at room temperature and knead before use. Don't refreeze.
Full detail in henna cone shelf life & storage.
Ratios cheat sheet
| Ingredient | Per 100 g henna powder |
|---|---|
| Acidic liquid (lemon / tea) | ~150–200 ml, added gradually |
| Sugar | 1 tsp |
| Essential oil (cajeput / lavender / tea tree) | 15–20 ml |
| Rest time before use | 6–12 hrs at room temperature |
Scale down for a test batch: 20 g powder, ~35 ml liquid, a pinch of sugar, 4 ml oil.
Safety notes
- Use body-art-quality henna only — never a "compound" or "black" henna powder, which can contain metallic salts or synthetic dye (why).
- Stick to the approved essential oils above; skip clove and cinnamon oil, which irritate many people's skin.
- Patch test a new powder or a new oil 48 hours before a large design (how).
- Mix in glass or steel, not reactive metal like aluminium or copper.
When to just buy cones
Mixing your own gives you control over freshness and tip size, which matters for bridal detail — but it's a commitment. For occasional use, or while you're still learning, ready-made body-art-quality cones with a printed batch date are more reliable. Hennaya hand-rolls them fresh in Bangalore. If you want to learn mixing and rolling properly with feedback, that's part of our henna classes.
Questions people ask
How long should henna paste rest before use?
6–12 hours at room temperature for most powders. It's ready when a smear leaves a clear orange mark on your palm within about a minute.
Can I freeze leftover henna paste?
Yes. Roll it into cones, double-bag them and freeze for up to 3–4 months. Thaw at room temperature and knead before use. Refrigerated paste lasts about 3–4 days.
Why is my homemade henna paste not staining?
Usually old powder, not enough resting time, or too much water diluting the dye. Use fresh body-art-quality powder, an acidic liquid, and let it dye-release fully before adding essential oil.
Keep reading
Which Hand Goes First for Mehndi? The Tradition
Left or right — does it actually matter? The tradition behind mehndi hand order, the practical reason it stuck, and whether it changes your stain at all.
The History of Henna & Mehndi: 4,000 Years, Briefly
Henna body art is thousands of years old. A short history of the plant, how it spread across three continents, and how the mehndi tradition grew from it.
Henna vs Mehndi: Are They the Same Thing?
Yes — henna and mehndi are the same plant and the same dye; only the word changes by region. When to use each word, and why "black henna" is neither.